Simple Egg Deployment
Contents
Introduction[edit]
This document should take the inexperienced user through the process of putting their first egg on their badge.team badge. Perhaps you’re a hacker camp attendee and you’re not quite as 1337 as everyone else when it comes to this kind of thing so you’re feeling a bit lost with your new badge, so this is for you. It’s written using an Ubuntu laptop connecting to a SHA2017 badge on firmware for February 2019, and it has been tested with a Hacker Hotel 2019 badge with the same firmware and a CampZone 2019 badge with July 2019 firmware. It should however work just as well with other badge.team badges and other Linux-based distros. If you have git and Python it should in some way be possible to do the same thing on a MacOS or a Windows machine, however the differences are beyond the scope here.
The easiest way to put an egg on a badge is through the hatchery at https://badge.team. Register an account, create the egg, upload the files, and away you go with your on-badge installer. But you expose everything to the world when you do that, and perhaps you want to only upload it when it works. Here we’re showing you how to upload an egg directly from your computer to the badge.
It is assumed that you have written your first egg and are wanting to deploy it to a badge, and you have a folder containing at least an __init__.py file. In our case we’ve created an egg called “Hackaday logo” that is intended to display the logo of your favourite hardware hacking news web site.
Compatibility[edit]
As has been noted above, these instructions should work on all badge,team badges. They have however been tested with the following:
Connecting to the badge[edit]
First, install MPFshell from the badge.team wiki.
This involves cloning a git repository and running pip to install some python code, for which you will need to open a shell and enter the commands listed on the MPFShell page one by one.
Then take your badge, and disconnect its battery. This shouldn’t make a difference, but personal experience is that the process is more reliable when the badge is USB-powered alone. If you have a CampZone 2019 badge and you haven't installed the extra capacitor, turn the display brightness to a minimum before you do this.
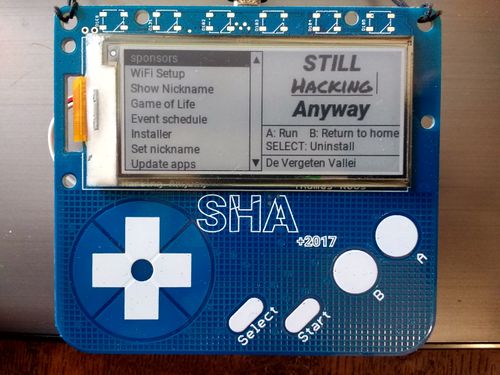
Take a known-reliable USB cable, and use it to connect your badge to one of your computer’s USB ports. The badge will start running. Navigate to the launcher on the badge, you want the badge to remain awake, because in standby mode the USB connection stops.
Now open up a terminal in the folder with your egg’s code in it. That’s the one containing its __init__.py file and associated resources. This can be done by navigating to it within a shell, or by opening a terminal there from the context menu in the GUI view of the folder.
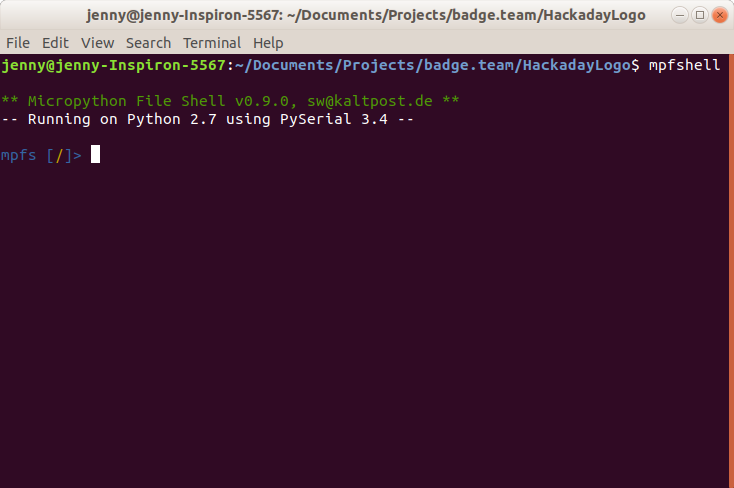
In the terminal, type mpfshell, and hit return. You will see a Micropython File Shell message, and an mpfshell prompt.
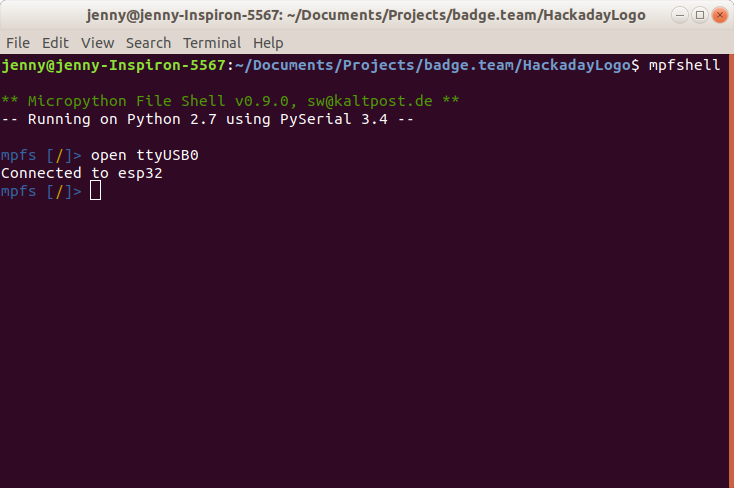
Now type open ttyUSB0 at the mpfshell prompt and hit return. ttyUSB0 is the default USB serial port on most Linux-based distributions, if you are a Windows or MacOS user this may vary. You should then see a message saying you are connected to the badge.
Creating a directory for your egg[edit]
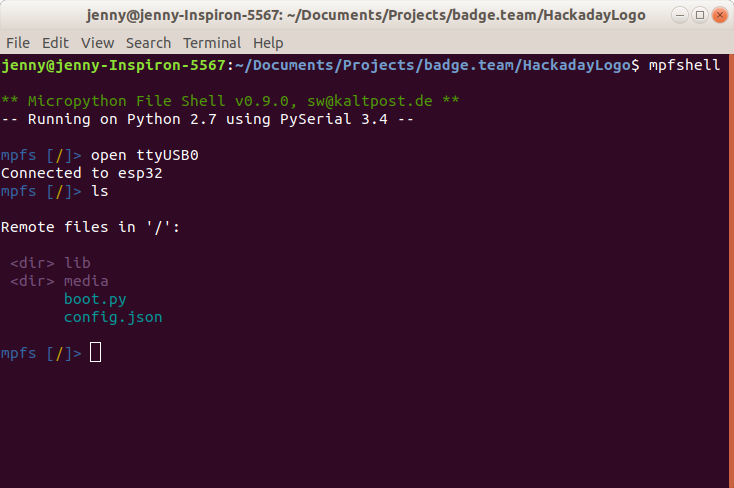
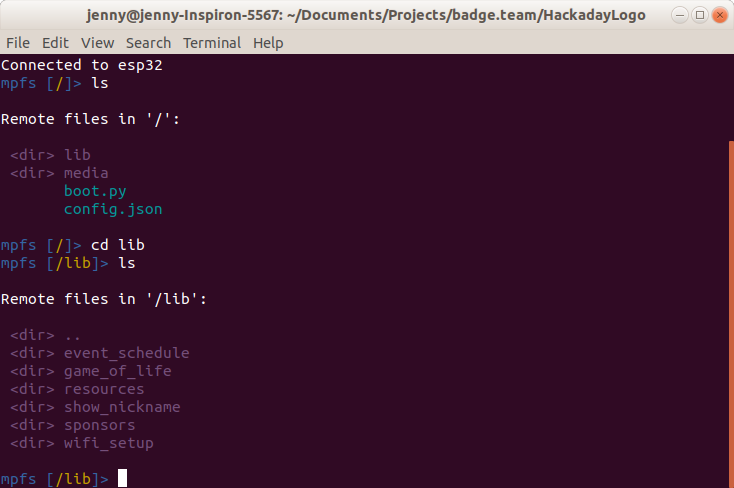
You are now in a shell with basic filesystem commands for your badge similar to those on most UNIX-like operating systems. The ls command will list the contents of the current directory.
Some badge.team badges have minor differences in their directory names, so you wil need to identify which one on yours contains the eggs.
In the SHA2017 and Hacker Hotel 2019 badges, eggs live in the /lib directory. cd lib will take you into that directory, and ls will allow you to see the eggs installed on your badge.
In the CampZone 2019 badge, eggs live in the /apps directory. cd apps will take you into that directory, and ls will allow you to see the eggs installed on your badge. The screeshots on this page are from a SHA2017 badge, so where they say "lib" your CampZone 2019 badge will say "apps".
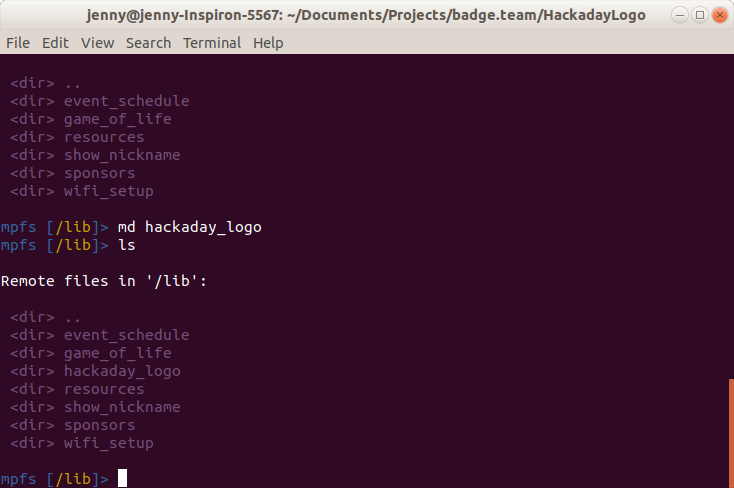
Your egg will need a directory of its own in the /lib directory, and the md command will make one for you. The firmware makes directory names lower case with spaces replaced by underscores, so for the Hackaday logo egg we typed md hackaday_logo and hit return. Replace hackaday_logo with your own egg’s name. The ls command will confirm that your new directory has been created.
Uploading your egg code[edit]
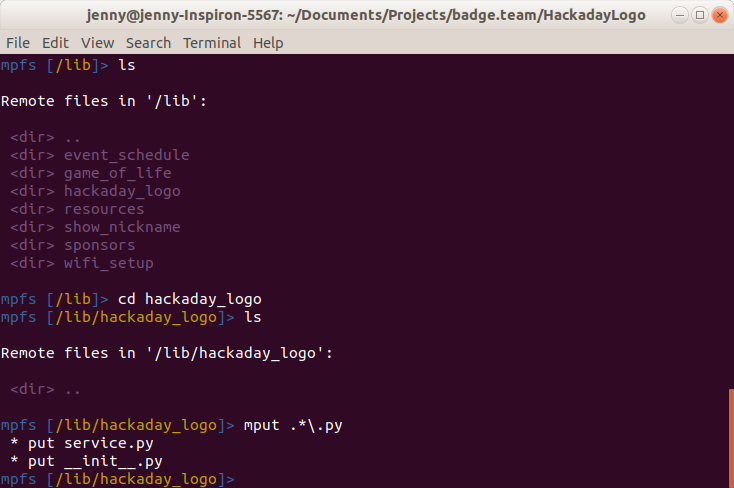
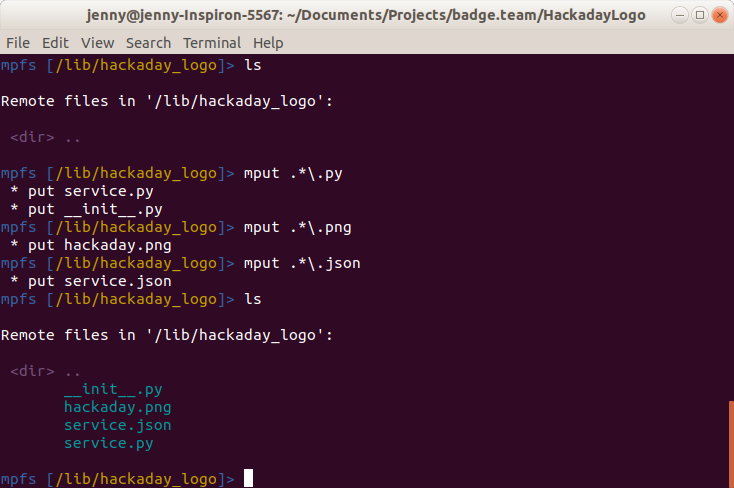
Move into your egg directory with the cd command, for example in our case we used cd hackaday_logo. You can now upload the egg files from your computer with the mput command. Type mput .*\.py and hit return, and you should see your egg’s python files listed as they are uploaded. The syntax selects all the python files, the backslash before the second dot is simply there to escape it.
The Hackaday logo egg has some more files, so we needed to repeat the process for those file types. Then we could list the contents of the directory on our badge, and see our egg files in place.
Running your egg[edit]
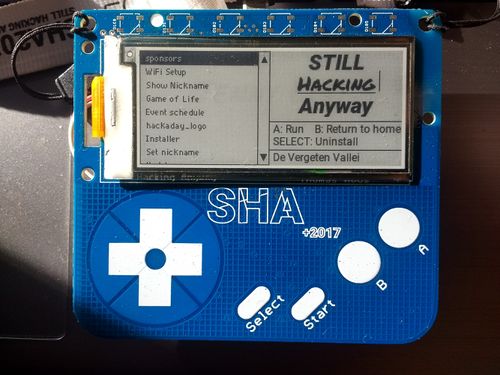
Finally, we could go to the badge launcher, and see the hackaday logo egg in the list of installed eggs…
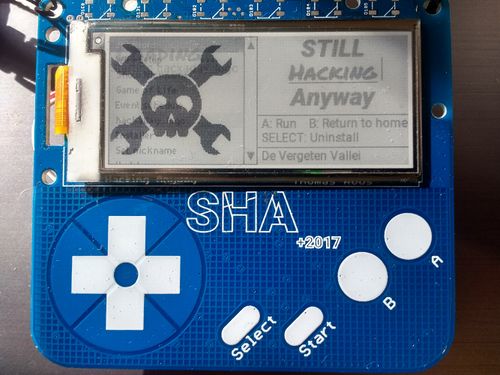
… and run the egg itself. (Note, as you can see this early version requires more screen refreshing code.)
